
Here’s the traditional baguette recipe that we practiced at pastry school. It’s the bread recipe I use most often — and not just because it’s sugar-free and fat-free. Besides being straight-forward and clean-tasting, it gives lots of crunch and is delicious.
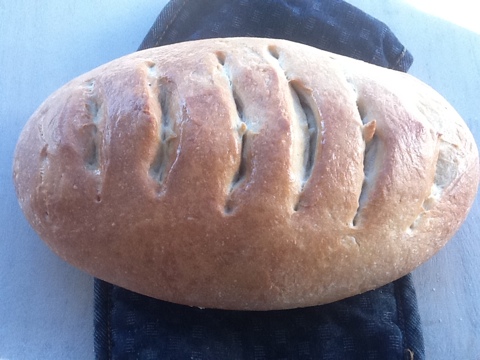
There are three ingredients, besides water: bread flour, yeast and salt. The method involves mixing the dough, allowing it to rise, strengthening the dough and shaping it —and then leaving it to rise again before baking it. It will give you two medium sized loaves or four smaller baguettes.
It’s a perfect recipe to prepare on a warm, expansive Sunday…. especially since I’m providing a rather detailed account of how to prepare it! (Alternatively, click here for a shorter version but note that the ingredients are halved).
INGREDIENTS
1 kg white bread flour
20 g live yeast (reduce by 25% for dry yeast)
20 g salt
700 g warm water (comfortably warm… not hot)
If you have a teeny oven or you’re new to baking bread, rather halve the recipe, in which case you’ll have two small loaves or one medium sized loaf. Bread-making isn’t difficult, it just takes a little practice.
METHOD
Mix the ingredients together:
Place the flour in a bowl with the yeast. Rub the live yeast into the flour with your fingertips or simply mix in the dried yeast. Pour in the warm water and mix (using your hands or a wooden spoon).
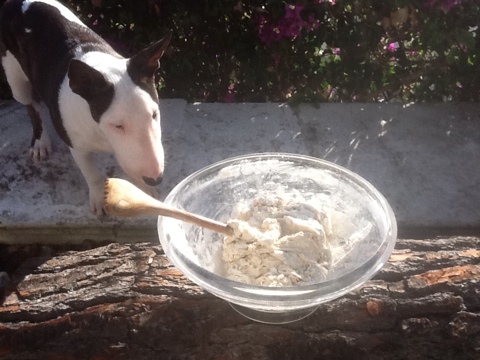
Finally, mix in the salt — once everything is roughly combined (the mixture will be messy and sticky at this stage).
Knead the dough:
Turn the mixture onto a ‘warm’ work surface (warm up a cold marble surface for instance, as yeast needs warmth). Now pull the dough towards you and slap it down onto the counter, while trapping in as much air as possible.
Work your dough for ten minutes or so until it feels light and silky smooth (the dough should be coming off your hands as you knead at this stage). If you haven’t kneaded dough before, don’t think the stickiness is going to last forever! See this post which links to a great demonstration by the master baker, Richard Bertinet.
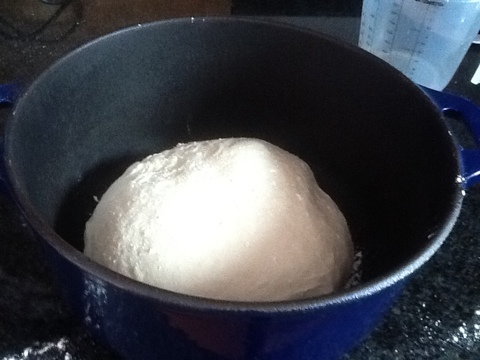
Now work the dough into a ‘ball shape’. Sprinkle some flour (or rub some olive oil) onto the bottom of a large bowl (big enough to allow the dough to double in size).
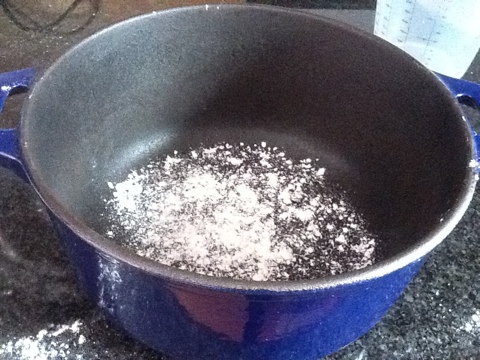
Gently place your dough inside (crease-side-down, smooth-side-up). Give a light sprinkling of flour over the top of the dough.
Cover with a dish towel, a towel or some plastic.

Rest the dough:
Place the covered bowl in a warm, draught-free place.

Let the dough rest for 45 minutes to an hour until it has doubled in size.
A word on timing: we were never given cooking times at pastry school. ‘It’s ready when it’s ready,’ is what Chef Tim always used to say. This approach caused anxiety at first but it forced us to develop our powers of observation. As a result, we developed a ‘feel’ and came to trust ourselves more. Failures were mostly still edible and that’s how we learned!
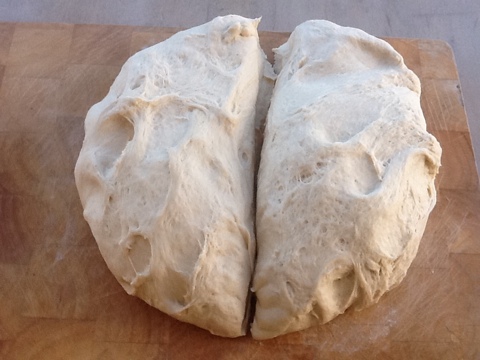
Strengthen and shape the dough:
Divide the dough into same-sized portions (depending on how many loaves you’re making).
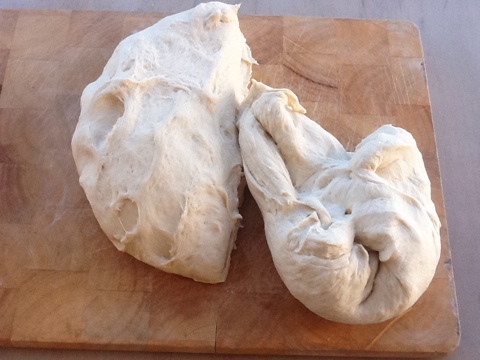
Fold each piece of dough into itself in order to strengthen it: fold the outer area towards the centre of each piece. This should only take a couple of minutes.
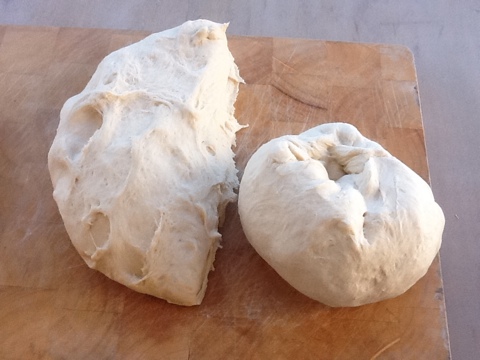
Once the dough is ‘tighter’ or ‘stronger’, you can go ahead and create the shape of your choice.
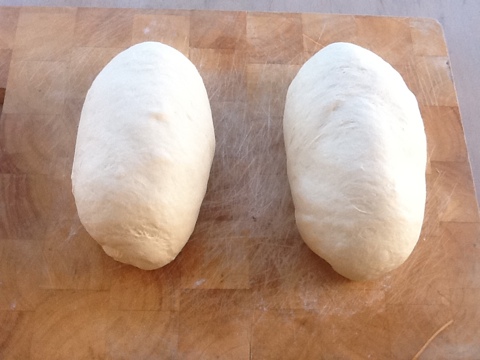
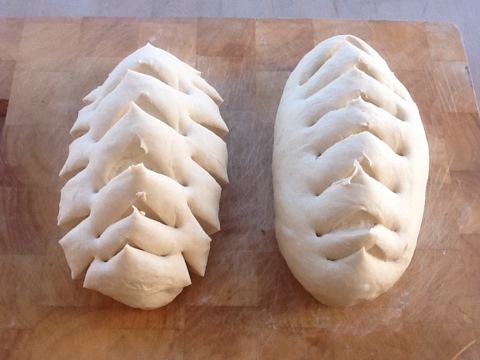
To make a baguette shape:
Work the dough into a sausage shape and then roll both ends into narrower sausage shapes. You could create a simple ball shape or a rough ‘ship-shape’… have fun with it, rather than strive for perfection. Keep a light touch and don’t overwork the dough!
Rest the dough again:
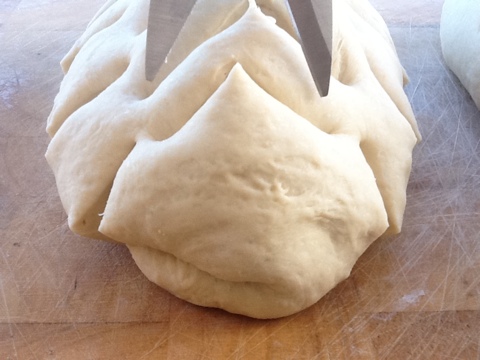
Sprinkle some flour on your oven tray before gently placing your bread on it. Use a sharp knife, scissors or a razor blade to slit the top of the bread (this releases pressure).
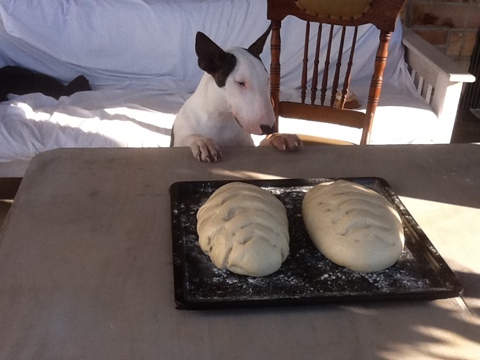
Cover it and place it in a warm, draught-free place to rest again — for half an hour or so.

Pre-baking:
Pre-heat your oven to 200 degrees celsius.
If you want a good crust then spray some water over the bread and into the oven before baking. I often rub olive oil and some salt over the dough at this stage — this adds to the flavour.
Baking:
Gently place the oven tray into the centre of the oven (close the door quickly so you don’t lose too much heat). Turn the temperature down to 180 degrees celsius after about ten minutes.
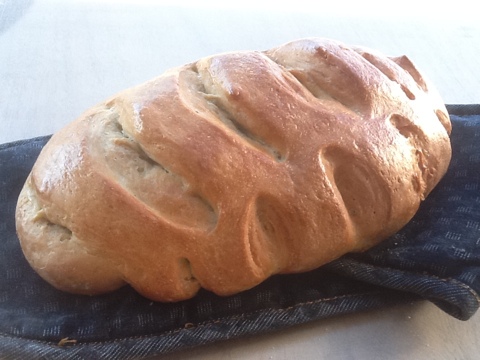
Bake for a further 20 to 45 minutes, depending on how many loaves you have in the oven. A golden brown crust tells you that the bread is close to ready. To check, tap the underside — if there is a sharp, hollow sound then it is ready. If not, place the loaf face down onto the oven tray and bake for a further 5 to 10 minutes.
Place the bread on a rack to cool down a little before serving it. A little olive oil rubbed over the bread will enhance it’s appearance, taste and smell.
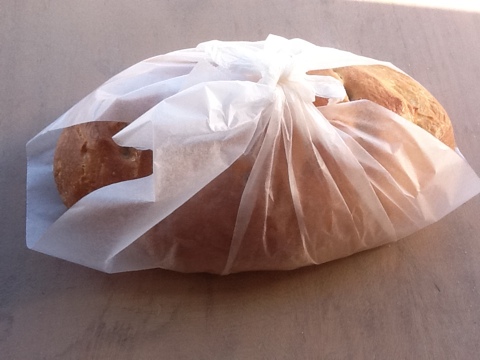
And if you want to give some to family, friends or neighbours, simply wrap in some wax-paper or pop it into a paper bag ~x~
PS. Warning to other food bloggers: this post has been copied and pasted in it’s entirety by a content scraper/thief: Bocata.com. They posted it as their own at http://bocata.com/?p=181.


